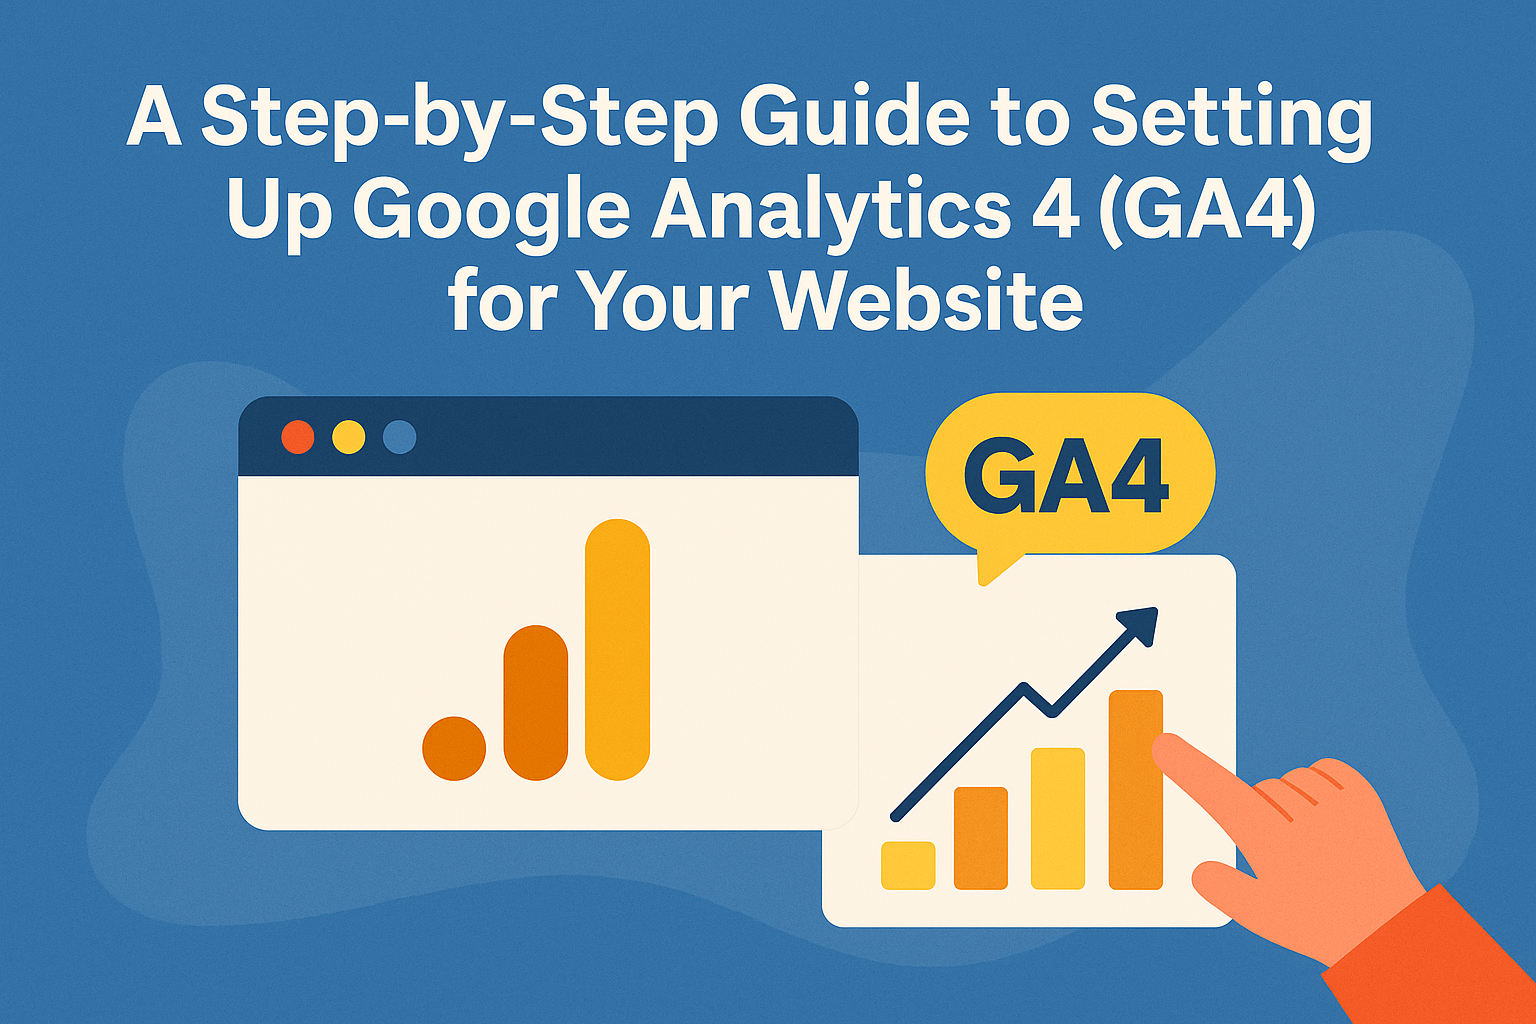
Introduction
- Briefly explain what GA4 is and why it matters.
- Highlight key benefits over Universal Analytics (event-based tracking, cross-platform data, AI-powered insights, etc.).
Step 1: Create a Google Analytics Account
- Go to analytics.google.com
- Click “Start measuring”
- Fill in your account name and data sharing settings
Step 2: Set Up a GA4 Property
- Enter property name (e.g., your website name)
- Choose time zone and currency
- Click “Next” and select business details
- Click “Create”
Step 3: Set Up a Data Stream
- Choose “Web” for a website
- Enter your website URL and stream name
- Click “Create stream”
- Copy the Measurement ID (looks like
G-XXXXXXX)
Step 4: Add GA4 Tag to Your Website
If you’re using HTML or custom-coded site:
- Paste the global site tag (
gtag.js) into the<head>section of your site
If you’re using WordPress:
- Use plugins like GA Google Analytics or Site Kit by Google
- Paste the Measurement ID in the plugin settings
If you’re using Google Tag Manager (GTM):
- Open GTM > Add new tag > GA4 Configuration
- Enter Measurement ID
- Set trigger to “All Pages”
- Save and publish
Step 5: Verify GA4 Is Working
- Visit your website
- Go to GA4 > Real-time report
- Confirm that your visit is showing
Step 6: Set Up Key Events (Optional)
- Use “Enhanced Measurement” to auto-track:
- Scrolls, Outbound clicks, Site search, Video engagement, etc.
- For custom events (like form submissions), set up via Tag Manager or code
Step 7: Link to Google Tools (Optional but Recommended)
- Link GA4 with:
- Google Ads
- Google Search Console
- BigQuery (for advanced users)
Conclusion
- Reiterate the importance of early GA4 setup
- Mention how Marketing Baba can help businesses implement GA4 effectively
🔗 Visit: www.marketingbaba.co.in
🔗 GA4 & Analytics Support: https://marketingbaba.co.in/seo/